Flatten Images in Illustrator: Easy Guide
Did you know a single-layer, flattened PDF is the top choice for most print providers? This shows how crucial it is to know how to flatten images in Illustrator for printing. I often work with complex designs in Adobe Illustrator. Flattening images makes managing files easier and boosts my workflow’s efficiency.
When dealing with big designs and many layers, flattening saves time and prevents problems. These problems include font issues or layer mess-ups during export. Remember, once an image is flattened, you can’t edit the layers anymore. So, make sure your design is final before you flatten it.
Whether you’re a pro or new to design, learning to flatten images in Adobe Illustrator will improve your work. It ensures your prints will look just right.
Key Takeaways
- Flattening combines layers into one, making file management simpler.
- A flattened PDF keeps visuals consistent across devices, for perfect prints.
- Flattening settings affect print quality and performance.
- Always save a copy before flattening to keep the original design editable.
- Flattening is key for accurate prints with transparent elements.
- Adobe Illustrator’s flattening feature greatly improves workflow efficiency.
What Does it Mean to Flatten an Image?
Flattening an image is a key step in Adobe Illustrator. It combines multiple layers into one, known as flatten transparency in Illustrator. This makes the artwork simpler to handle and ensures it prints well.
Learning to flatten images well can make your work smoother and more reliable.
Understanding Flatten Transparency
Flatten transparency merges transparent parts of artwork. This includes effects on objects or images. By doing this, I avoid problems with transparent objects or color issues.
This two-step process makes my designs easier to manage. It turns complex artwork into a single-layer format.
Benefits of Flattening an Image
Flattening an image has many advantages. It makes files smaller, which is great for saving, sharing, and printing. Smaller files are especially helpful for printing, as they reduce the chance of errors.
Flattening doesn’t change the image quality. But it helps with smooth transitions and ensures prints look as they do on screens. Always save an unflattened version for future changes.
How to Flatten an Image in Illustrator
Working in Adobe Illustrator, I find flattening images crucial for my workflow. It simplifies layers, making them easier to manage and ready for final output. This guide will show you how to flatten an image and the benefits of doing so in Illustrator.
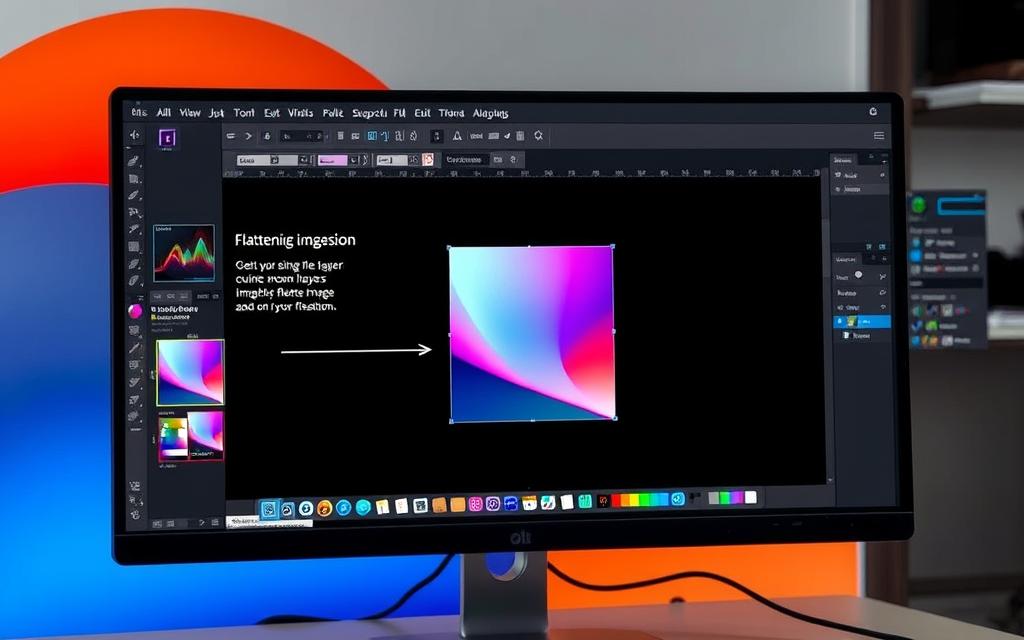
Step-by-Step Guide to Flattening Images
To start, I select all layers on the Artboard using the Selection tool (shortcut V). This step helps me combine everything into one unit. Then, I go to the overhead menu and choose Object > Flatten Transparency. A pop-up lets me adjust the settings before hitting OK.
Flattening the image means text outlines and layers can’t be edited anymore. However, it makes file management easier by reducing sizes. It also prevents issues with missing fonts and layers when printing, ensuring my artwork looks great.
Flatten Layers in Illustrator
Working on complex designs in Adobe Illustrator can be tough. Managing many layers can feel overwhelming. That’s why I use the option to flatten layers. It helps me simplify my workflow.
Using the Layers panel, I can flatten all visible layers into one. This makes file management easier. It also makes editing or exporting tasks more efficient.
Using the Layers Panel to Flatten Artwork
To flatten layers in Illustrator, I go to the Layers panel. I then select “Flatten Artwork” with just two clicks. This turns many layers into one, making the file smaller.
Flattening is key when preparing designs for printing or final presentation. It ensures everything looks right and avoids missing fonts or layers.
Difference Between Flattening Artwork and Transparency
It’s important to know the difference between flattening artwork and transparency. Flattening artwork lets me move objects in the new layer. But flattening transparency makes everything one uneditable layer.
Knowing when to flatten layers versus preserving transparency is crucial. It helps keep my designs flexible and easy to edit.

Why Should You Flatten Your Images?
Flattening images in Adobe Illustrator has many benefits. It makes file management easier and improves printing quality. This simplifies my work and prevents future problems.
Advantages for File Management
Flattening images merges all layers into one. This makes the file smaller and reduces errors when sharing. It also speeds up saving and makes my workflow smoother.
Impact on Printing Quality
The impact on printing quality is huge. It stops issues like missing fonts and layers. This ensures the printed work looks just like on my screen.
It also fixes problems with transparent objects. For more on this, check out flattening images in Adobe Illustrator.
Reducing File Size with Flattened Images
It’s important to reduce file size in Illustrator for better project management. Flattening images is a key strategy for this. It combines layers into one, making files smaller.
This makes files easier to store and share. It’s a big help in keeping things organized.
Techniques for Creating Efficient Files
One way to make files smaller is to uncheck “Create PDF Compatible File” when saving. This can greatly reduce file size, especially for big projects. Using linked images instead of embedding them also helps a lot.
These methods help me reduce illustrator file size without losing quality.
How Flattening Affects File Export
Flattening layers makes exporting files faster and easier. It leads to quicker downloads and fewer problems when sharing with printers. I’ve seen big improvements in how fast and reliable exports are.
This shows how important flattening is for keeping my work flowing smoothly.
Merge Layers in Illustrator: The Importance
Merging layers in Illustrator is a crucial skill. It makes my work easier and more efficient. Knowing when to merge or flatten layers keeps my project tidy and easy to manage.
Merging layers combines related elements into one. This makes my workspace simpler. It also boosts my creativity and productivity.
When to Merge vs. Flatten Layers
Choosing the right time to merge or flatten layers is important. I merge layers when I need to edit or organize my project. Flattening is best for final designs before printing, removing extra details.
Knowing when to use each helps me stay flexible. It also ensures my designs look clean and professional.
Steps to Merge Layers Easily
To merge layers smoothly, I start with the Layers panel. I select layers to merge by holding Shift and clicking. Then, I choose Merge to combine them.
This action simplifies my editing and keeps my workspace organized. Always save a copy of the original design before merging, as it’s irreversible. Using shortcuts like Ctrl/Cmd + Shift + ] speeds up the process.
Trying different layer combinations helps me find the most efficient setup for my artwork.

Vectorize Raster Images in Illustrator
Knowing the difference between raster and vector graphics is key in Adobe Illustrator. Raster images are pixel-based and lose quality when enlarged. Vector graphics, however, stay sharp no matter the size. This is vital for high-quality prints or digital projects.
Understanding Raster vs. Vector Graphics
Raster graphics, like photos, need special care when resized or flattened. It’s important to rasterize an image before flattening for the best results. This step is crucial for printing or detailed designs. A 90% Raster/Vector Balance is recommended for digital printing to avoid pixelation.
How to Rasterize an Image Before Flattening
To rasterize an image, go to Object > Rasterize in the menu. This step lets you set resolution values for quality, especially for text and line art. Aim for 600 to 1200 dpi. Tools like GMG ColorServer can support up to 2400 dpi for complex graphics.
Converting thin strokes to outlines needs care as flattening can change their look. Set a time limit for big jobs to avoid interruptions. A minimum of 20 minutes is recommended for smooth completion. Learning to vectorize raster images in Illustrator boosts creativity and function.
For comic book fans, tools like the AI Comic Factory platform can help. It allows for unique graphics creation and refinement. Also, checking out Pearson Education can offer insights into managing digital content.
Flattening Images for Printing
Flattening images is key for great print results. Production gear needs files ready to go. Without flattening, issues like missing images and color problems can happen.
Common Printing Issues and Solutions
Printers use RIPs to check files. Unflattened files can cause problems like wrong colors. Adobe Photoshop and Acrobat Pro are great for fixing this.
In Photoshop, unlock layers and flatten them. Then, save as a PDF in CMYK at 300dpi. This is especially important for banners and posters to avoid mistakes.
Export Settings for a Perfect Print
Adjusting export settings is important for quality. Make sure to uncheck “Create Acrobat Layers from Top-Level Layers.” The “High Quality Print” preset helps a lot.
By following these steps, images are ready for perfect prints. This ensures success every time.
Conclusion
Flattening images in Illustrator is key for designers who want to work more efficiently. It’s not just about making files smaller. It also improves printing quality and fixes export problems.
Learning when to flatten or merge layers can really boost your design speed. This knowledge helps me work better and faster.
Switching from Photoshop to Illustrator can be tough, especially with layer management. Many Photoshop users struggle with this, forgetting to organize layers. Luckily, I’ve found great resources like guides on using key features to help me stay organized.
Also, 90% of people find it easy to separate layers once they know how. This skill is crucial for keeping my designs professional and flexible. It lets me go back to my original files for future changes.
In the end, these techniques make a big difference. They help me achieve organized and top-notch results in my designs.
FAQ
How do I flatten an image in Adobe Illustrator?
To flatten an image in Illustrator, first select all layers on your Artboard. Use the Selection tool (shortcut V). Then, go to Object > Flatten Transparency. Adjust the settings in the pop-up and click OK to finalize.
What is the difference between flattening artwork and flattening transparency in Illustrator?
Flattening artwork merges all layers into one, allowing for object movement. Flattening transparency merges everything into one uneditable layer. Knowing this difference is key for effective layering.
Why is it important to flatten images before printing?
Flattening images before printing avoids issues like missing fonts and misaligned layers. It ensures your design looks as intended, crucial for a polished final product.
Can I still edit my artwork after flattening?
No, once you flatten an image in Illustrator, you can’t edit individual layers again. It’s important to finalize your design before flattening.
How does flattening images help with file management in Illustrator?
Flattening images simplifies file management by reducing complexity and size. It streamlines saving and transferring, minimizing errors during exports.
What techniques can I use to reduce Illustrator file size when flattening images?
To reduce file size, remove unnecessary layers before flattening. Adjust save settings to optimize size without losing quality. This makes your files more manageable.
How can I merge layers in Illustrator?
To merge layers, go to the Layers panel. Select the layers to combine and choose Merge. This creates a cohesive layer while keeping design editability.
What are the advantages of vectorizing raster images in Illustrator?
Vectorizing raster images keeps quality consistent at any size. It’s great for integrating bitmap graphics into vector projects, ensuring sharp and clear designs.
What are some common printing issues when not flattening images?
Common issues include missing fonts, misaligned layers, and poor image quality. Flattening your images fixes these problems, making printing smoother.
What export settings should I use for the best print quality in Illustrator?
For the best print quality, use the “High Quality Print” preset. Make sure to uncheck “Create Acrobat Layers from Top-Level Layers.” This keeps your artwork clear and intact during export.