Vectorize Text in Illustrator: Easy Steps
Did you know Adobe Illustrator introduced text-to-vector in version 28.0? This lets designers make fully editable vector graphics in many styles. This tool can change how we design text, especially for Cricut or Silhouette machines. Vector graphics are great because they can be made bigger or smaller without losing quality.
Working with vectorization can be tricky. But, converting text well is key. In this guide, I’ll show you how to vectorize text in Illustrator. You’ll learn to make your designs better and work faster on cutting projects.
Key Takeaways
- Adobe Illustrator can generate text-to-vector graphics starting from version 28.0.
- Vector graphics maintain their quality no matter the size, in contrast to raster images.
- Fonts must be converted to outlines when designing SVG files for cutting machines.
- Choosing the right vectorizing method depends on the type of text, whether typed, brush-created, or handwritten.
- Keyboard shortcuts can significantly enhance the efficiency of converting text to vector in Illustrator.
Introduction to Vectorization
Vectorization is a key part of graphic design. It turns raster images and fonts into vector graphics. This is especially important when using text vectorization in Illustrator. It helps keep designs sharp and clear, no matter the size.
Vector graphics can grow without losing quality. This is why designers use them for high-resolution images. In Adobe Illustrator, I often turn text into outlines using a shortcut or right-clicking.
Vectorizing text made with brushes is also useful. The Shape Builder Tool helps shape these forms well. For unique designs, I might scan or photograph handwritten text and then trace it with the Pen Tool.
Before turning text to outlines, I make a copy of it. This keeps my font options open for later changes. Adobe Illustrator is a top choice for designers, known for its vector graphic tools.
What is a Vector Graphic?
A vector graphic is made from math equations that create lines and curves. Unlike raster graphics, which use pixels and lose quality when resized, vectors stay sharp no matter the size. This vector graphics definition shows how versatile they are in design.
The importance of vector graphics shines in professional design. They offer clean lines and can be resized without losing quality. Formats like SVG, EPS, and PDF keep designs sharp for web or print. Vectors are key in laser engraving and making cut files for machines like Cricut and Silhouette.
Designers use Adobe Illustrator to turn raster images into vectors. Tools like Image Trace help. This makes editing and creating detailed designs easy, no matter the size.
Differences Between Raster and Vector Files
Knowing the differences in image types is key for designers today. Raster files are made of pixels, which can get blurry when enlarged. This makes them less good for things that need to be scaled up without losing quality.
Vector files, on the other hand, use math to draw shapes and lines. This means they stay sharp and clear, no matter how big they get. They’re perfect for things like logos and signs because they can be made bigger without losing detail.
Games today use raster graphics for their detailed looks. But back in the 80s, games used vector graphics. Now, mobile games still use this style. Knowing when to use raster or vector files can really make a difference in your designs. For more info, check out these differences in image types online.
Why Vectorizing Text is Important
Vectorizing text changes graphic design projects a lot. It keeps designs looking good on different platforms, like high-resolution prints and cutting machines. Using vectorizing text benefits means designs stay the same everywhere.
Working with logos or detailed illustrations shows vector designs’ strength. They don’t face font problems that text-based designs do. This is key when sharing files, as it keeps the design looking right.
Adobe Illustrator’s new tools make vectorizing easier. The latest updates include AI tools for better design quality. For example, a new recolor option lets me try different looks easily.
Trying out these tools brings many benefits. It’s not just about the tech; it’s about making designs better. Vectorizing text makes my work stand out in any project.
Getting Started with Illustrator
Starting with Illustrator can feel overwhelming. But, learning the interface well is key. The tools and features I’ll cover will help a lot with vectorization. The Character and Paragraph panels are vital for fine-tuning fonts.
When starting a new document, picking the right artboard size is important. Think about where your design will be used, whether it’s for print or online. You can easily resize and move text boxes to try out different layouts.
Changing text to follow a path or curve adds a cool touch to designs. The Create Outlines feature lets you edit text as objects. This is important for making designs work on different platforms.
The Ungroup feature is great for tweaking text after it’s been outlined. It lets you fine-tune design elements. You can also find more vectors to use in your projects on sites like Vecteezy.
For a detailed look at vectorizing text, check out this resource. It shows how Adobe Illustrator can turn text into amazing vector graphics.
How to Vectorize Text in Illustrator
Learning to vectorize text in Illustrator opens up many design possibilities. It turns regular text into editable vector shapes. This makes your designs more versatile. Knowing how to create outlines in Illustrator can improve your work’s quality, especially for cutting machines like Cricut or Silhouette.
Step-by-Step Process to Create Outlines
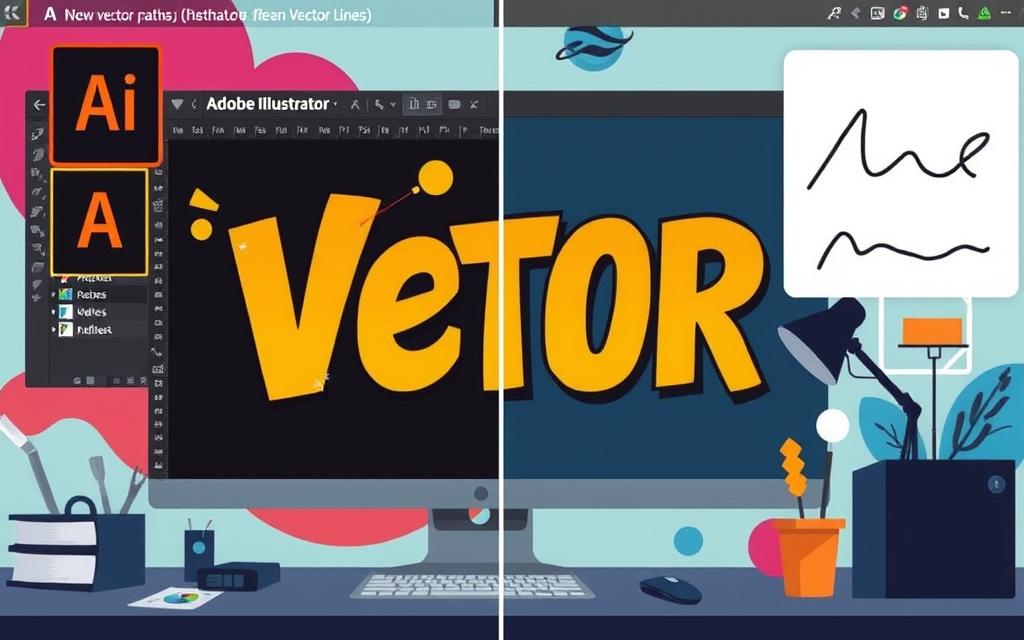
To start vectorizing text in Illustrator, follow a step-by-step guide. First, pick the text you want to convert. Use the shortcut Shift + Command + O on Mac or Shift + Ctrl + O on Windows. This turns your text into vector paths, which are fully editable shapes.
This method is crucial for designs meant for cut files. It ensures clarity and precision.
Keyboard Shortcuts for Efficiency
Using keyboard shortcuts in Illustrator saves time and makes your workflow smoother. They help when vectorizing text and handling other design elements. Knowing these shortcuts makes creating outlines in Illustrator easy.
It lets me focus on the creative parts of my projects. Mastering these shortcuts is a big advantage in my design journey.
Tips for Effective Text Outlining in Illustrator
In graphic design, effective text outlining is key for top-notch vector graphics. The first step is selecting fonts for vectorization. The right font choice is vital, especially for print work. Some printers need fonts outlined before printing, ensuring quality without font issues.
Choosing the Right Fonts
When designing, I pick fonts with fewer anchor points. Simple fonts with less detail make for smoother cuts. This is crucial for quality designs. Fast processing is also important, as printers handle many files.
Outlining fonts turns text into vector shapes in Illustrator. This keeps the design looking good, even if the font isn’t installed.
Understanding Anchor Points
Working with vector graphics in Illustrator means understanding anchor points in Illustrator. Each point shapes the vector, affecting the text’s look. When outlining text, remember that underlines and bullet points might disappear.
Knowing how to work with these points boosts design flexibility and clarity. Proper management ensures my text looks great and works well, no matter the output.
Methods for Vectorizing Text
In this section, I will explore effective methods for vectorizing text. Each method is suited to different needs and preferences. Understanding these techniques can enhance my graphic design workflow and open up new creative avenues.
Using the Shape Builder Tool
One of the most intuitive methods for vectorizing text involves using the Shape Builder Tool in Adobe Illustrator. This tool allows me to create complex shapes by merging and dividing existing ones. By converting text to outlines, I can manipulate individual letters with precision.
The Shape Builder Tool streamlines this process. It enables me to combine shapes quickly while maintaining a clean and polished look. This method is particularly useful for creating unique logos or custom designs where text plays a prominent role.
Vectorizing Handwritten Text
Vectorizing handwriting presents a unique challenge, but it can be accomplished effectively with the Pen Tool in Adobe Illustrator. I find this method particularly rewarding as it allows me to capture the organic flow of handwritten text.
By tracing over my writing with the Pen Tool, I create vector paths that can be easily edited. This approach provides flexibility, ensuring that my handwritten designs retain their personal touch while benefiting from the scalability of vector graphics. Whether for personalized branding or creative projects, vectorizing handwriting adds an authentic element to my designs.
Saving Your Vectorized Text
After you’ve vectorized your text in Adobe Illustrator, saving vector graphics in the right format is crucial. I usually save in AI and SVG formats. These are perfect for cutting machines and web use. Illustrator’s export options make it versatile for many projects.
It’s smart to organize your files before saving. Use a simple naming system and group by project type. This makes finding designs later much easier and saves time.
Think about who will see your designs when choosing file types. Different places need different formats for the best look. By learning how to saving vector graphics well, my designs stay sharp and clear everywhere.
Conclusion
Vectorizing text in Illustrator is key to making my designs better and easier to create. By following the steps in this Illustrator text vectorization guide, I can turn text into vectors for many uses. This includes files for cutting machines or print media.
Converting fonts to vector outlines makes my text look exactly as I want it to. It also solves problems with standard fonts. These vector files stay sharp and can be made bigger or smaller without losing quality. This lets me keep my designs flexible and creative.
I suggest practicing these vectorization skills to improve your design work. Whether you’re making unique graphics or perfecting a speech, using these tips will help you create top-notch work.
FAQ
How do I vectorize text in Illustrator?
To vectorize text in Illustrator, first select the text you want to change. Then, use the shortcut Shift + Command + O (Mac) or Shift + Ctrl + O (Windows). This will turn the text into vector shapes that stay clear when you resize them.
Why is vectorization important for text?
Vectorization is key because it changes editable text into a vector format. This format keeps its quality no matter the size. It’s great for making top-notch designs and cut files for machines like Cricut and Silhouette.
What are the benefits of converting text to vector in Illustrator?
Turning text to vector formats helps avoid font problems when sharing designs. It keeps text quality high in print and digital formats. Plus, it makes editing and scaling designs easier.
What is the difference between raster and vector files?
Raster files are made of pixels and get pixelated when you enlarge them. Vector files, on the other hand, use math to define shapes. This means they can be scaled up without losing quality.
How can I choose the right fonts for vector cut files?
When picking fonts for vector cut files, look for fonts with simple shapes and fewer anchor points. These will make smoother cuts and work better with cutting machines.
What tools can I use in Illustrator to vectorize handwritten text?
To vectorize handwritten text in Illustrator, you can use the Pen Tool to draw over it. Or, you can use the Image Trace feature. It converts raster images of your handwriting into vector graphics.
What file formats should I save my vectorized text in?
Save your vectorized text in formats like AI for Adobe Illustrator files or SVG for cutting machines. These formats keep the vector quality and work well for different uses.

